
- 1. Overview
- 2. British plans
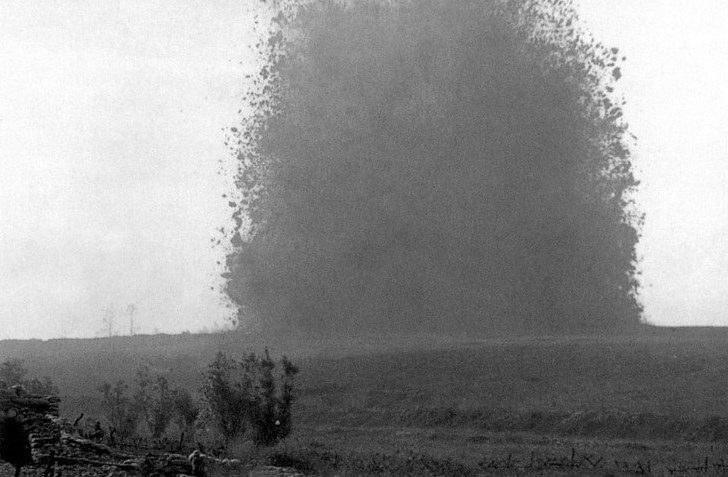
- 3. Battle of Messines: exploding the mines
- 4. Battle of Messines
- 5. 3rd Battle of Ypres: planning
- 6. 3rd Battle of Ypres: a potential decisive blow?
- 7. Political pressure from the Prime Minister
- 8. German defences
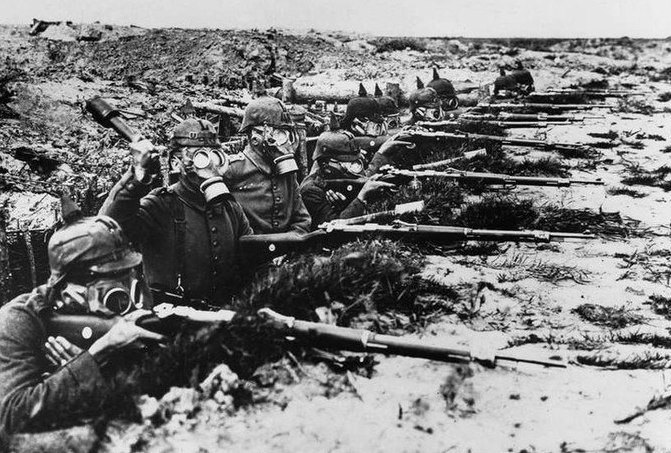
- 9. The Germans use mustard gas for the first time
- 10. The war in the air
- 11. The attack begins
- 12. Gheluvelt Plateau initial assault
- 13. After the first day
- 14. Gheluvelt Plateau in August
- 15. London conference
- 16. Gheluvelt Plateau in September
- 17. Battle of Menin Road: planning
- 18. Battle of Menin Road
- 19. Battle of Polygon Wood
- 20. Battle of Broodseinde
- 21. The front in October
- 22. Battle of Poelcappelle
- 23. First Battle of Passchendaele
- 24. Second Battle of Passchendaele: first stage
- 25. Second Battle of Passchendaele: second stage
- 26. Aftermath
- 27. The BEF’s morale
- 28. Conclusions
Flanders Offensive
Entente offensive in the Flanders region
7 June - 10 November 1917
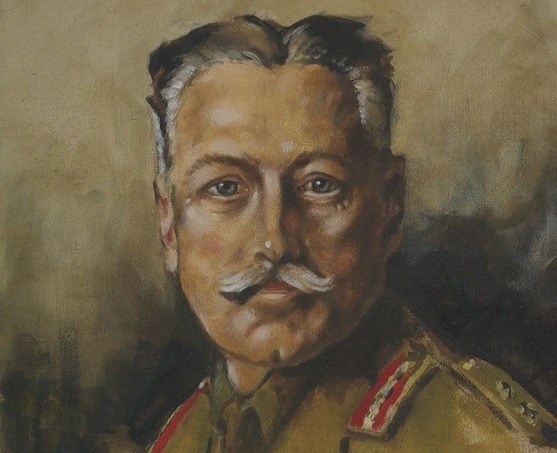
After the debacle of Nivelle’s offensive, Entente attention turned to General Douglas Haig’s long-awaited Flanders offensive. The final splutterings of the Arras offensive had been diversionary in nature, fought to deflect attention from both the problems of the French and the burgeoning preparations already being started in Flanders. But now underpinning everything was the necessity of focusing German attention on the British Expeditionary Force and thereby allowing the French Army more recovery time.


1 of 5
At the First Battle of Ypres in 1914, the BEF had succeeded in closing the gap between the open wing of the French army and the Flemish coast, thus completing the Western Front. In the Second, in 1915, the BEF had sustained the first gas attack of the war in the Western Front and, though surrendering critical ground in front of the city of Ypres, had held the line.
2 of 5
Douglas Haig's plan for the BEF's Flanders offensive split the projected operations into two stages. The first would consist of an attack on the Messines Ridge, south of Ypres. The second, taking place some weeks later, would be a 'Northern Operation' designed to capture the Passchendaele Ridge and Gheluvelt plateau to the east of Ypres before seizing the Thorout-Roulers railway link and then clearing the Belgian coast, aided by an amphibious landing.
3 of 5
Haig had originally intended to swiftly follow up the capture of Messines Ridge with his Ypres Offensive. But the delays multiplied, reflecting the logistical difficulties of waging a war which required thousands of guns and millions of shells to be amassed in the muddy ground of the Ypres Salient. The infantry, too, had to be moved up to the line. Training and planning had to be perfected. All this took time.
4 of 5
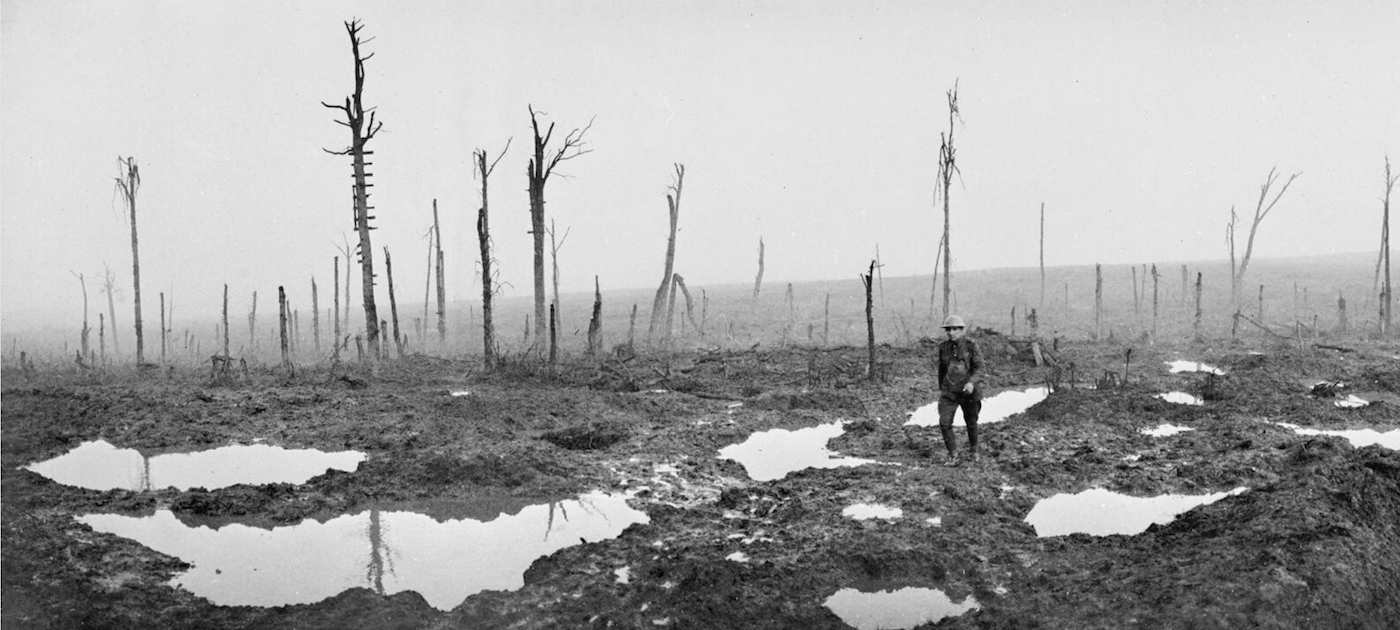
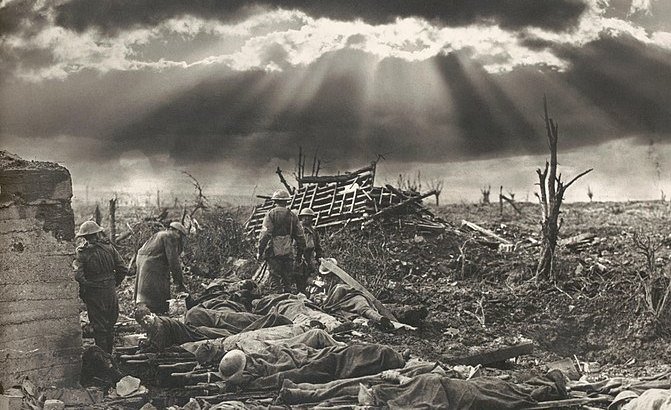
The ‘Flanders Position’, as the Germans called it, was one of the strongest on the Western Front, both geographically and militarily. From the low heights of Passchendaele, Broodseinde and Gheluvelt, the German front line looked down on an almost level plain from which three years of constant shelling had removed every trace of vegetation; it had also destroyed the field drainage system, elaborated over centuries, so that the onset of rain, frequent in that coastal region, rapidly flooded the battlefield's surface and soon returned it to swamp.

5 of 5
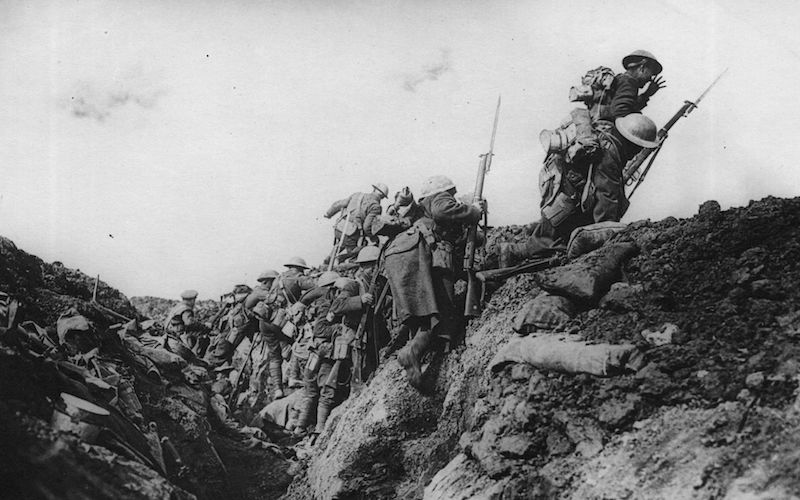
In the end there was nothing surprising in the slow rate of the British advance: the Germans were simply backing up, and exacting a heavy price for each stage. At this rate it would take years to get through Belgium — assuming that the United Kingdom had the manpower to keep it up.
Before any operations to clear the Ypres Salient could begin, it was necessary to push the Germans back from their positions on the ‘heights’ of the Messines Ridge to the immediate south. General Herbert Plumer was inclined to restrict his horizons initially to just the Messines and Pilckem Ridges. Seeking a more aggressive approach than that offered by Plumer, Haig selected General Sir Hubert Gough to command the main Ypres offensive, while Plumer commanded the opening assault on Messines Ridge. There would, however, still be a delay of some weeks after Messines as the artillery were moved northwards to amass in front of Ypres.
1 of 6
Preparations had long been underway, by Plumer’s Second Army, and since 1915 an incredible series of deep-driven tunnels had been burrowed under the ridge and filled with explosives. Early in 1917, the process had been accelerated in anticipation of the attacks planned to capitalize on the promised success of the Nivelle offensive.

2 of 6
The planning for the Flanders offensive was dogged throughout by the necessity of choosing between the ‘bite and hold’ approach with restricted objectives and the natural desire to maximize possible gains and capitalize on the enormous allocation of resources represented by such an offensive.
3 of 6
The original plan was that the BEF attack would be supported by a parallel French attack, but this had to be abandoned when mutinies proliferated across the French Army. Haig would have to go it alone, which meant that the Germans would be free to concentrate all their attention on Flanders. This may have benefitted the weakened French but it promised pain and suffering for the BEF.
4 of 6
The Messines plans produced by Plumer represented another high point in the development of the ‘bite and hold’ tactics. There would be a 4-day barrage followed by the intended detonation of twenty-one mines underneath key German defensive positions all along the length of the ridge. Plumer originally planned an advance of only 1,500 yards but Haig, not unnaturally in view of the almost incalculable expenditure of valuable military resources, wanted to attempt both the seizure of the German second line at the back of the ridge and the Oosttaverne Line on its rearward slopes. All together this would entail a total advance of some 3,000 yards.
5 of 6
The plans for the creeping barrage to protect the advancing troops were also gaining in complexity, for it was now mixed with barrages directed at a sequence of identified strongpoints further ahead of the troops. Once these objectives had been achieved, the creeping barrage would then settle as a standing barrage just ahead of the new lines in order to protect them from the inevitable German counterattacks.
6 of 6
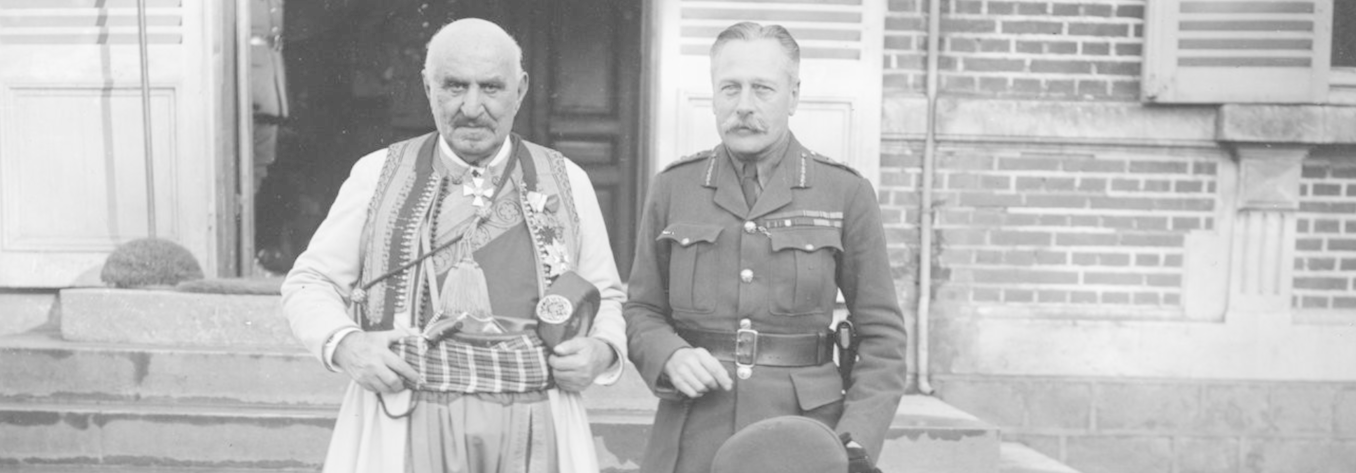
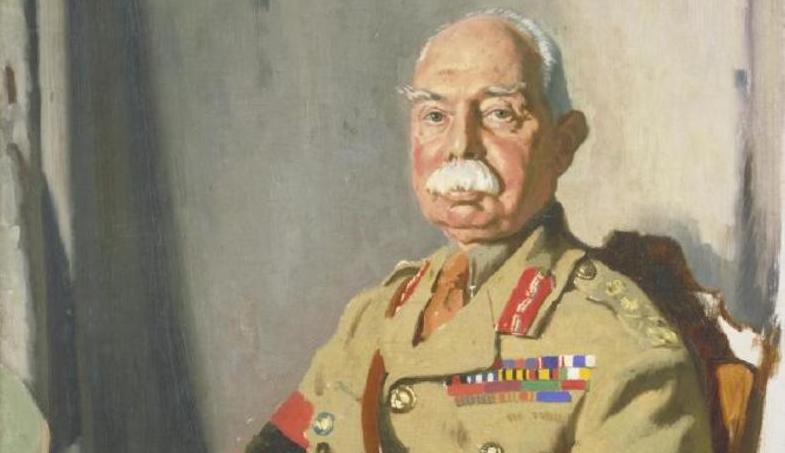
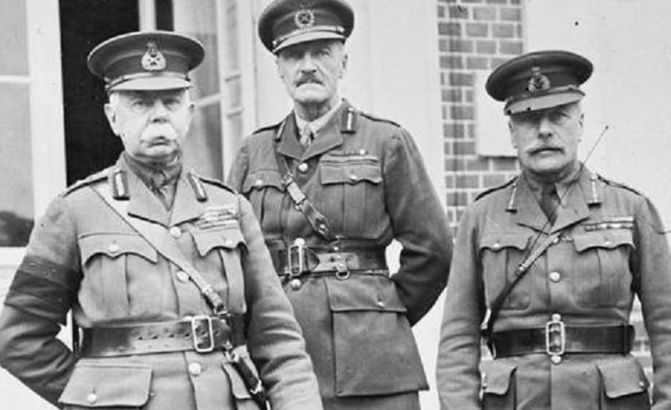
With his ruddy face, white moustache and corpulent figure, Plumer looked more like an elderly country squire than a successful general. But few could match his profound understanding of the principles of modern trench warfare or his concern to minimize casualties. Plumer and Major-General Charles Harington, his Chief of Staff, were a formidable team. Typically, their meticulous preparations for the Messines operation included the construction of an enormous contour model of the Ridge.
Operation Alberich
Operation Alberich was a German planned withdrawal that took place in France on more easily defensible positions.
Nivelle Offensive
The Nivelle offensive was a Franco-British plan on the Western Front of World War One. Designed by its architect, General Robert Nivelle, to be strategically decisive, the offensive failed to force a decisive battle with the German forces.
- Peter Hart, The Great War: A Combat History of the First World War, Oxford University Press, Oxford, 2013
- John Mosier, The Myth of the Great War: A New Military History of World War I, Harper Collins Publishers, Sydney, 2001
- Peter Simkins, Geoffrey Jukes, Michael Hickey, Hew Strachan, The First World War: The War to End All Wars, Osprey Publishing. Oxford, 2003
- John Keegan, The First World War, Random House UK Limited, London, 1998
- Hew Strachan, The First World War, Penguin Books, London, 2003