
- 1. Overview
- 2. Japanese strategy
- 3. American strategy
- 4. Easter Sunday Raid
- 5. Doolittle Raid
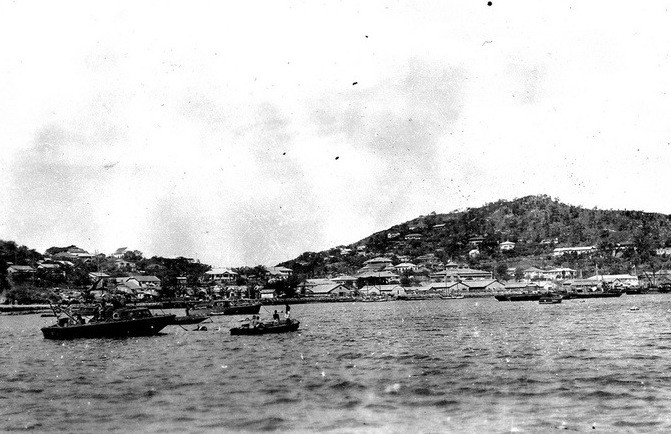
- 6. Tulagi landings
- 7. Battle of the Coral Sea: first engagements
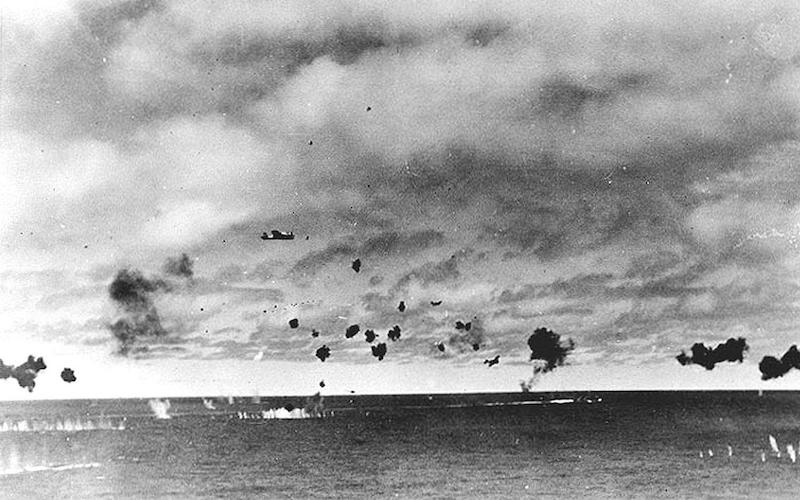
- 8. Battle of the Coral Sea: the main action begins
- 9. Battle of the Coral Sea: Japanese attack against the USS Lexington
- 10. Aftermath
- 11. War at sea in the Second World War
- 12. The US Navy
- 13. US signals intelligence
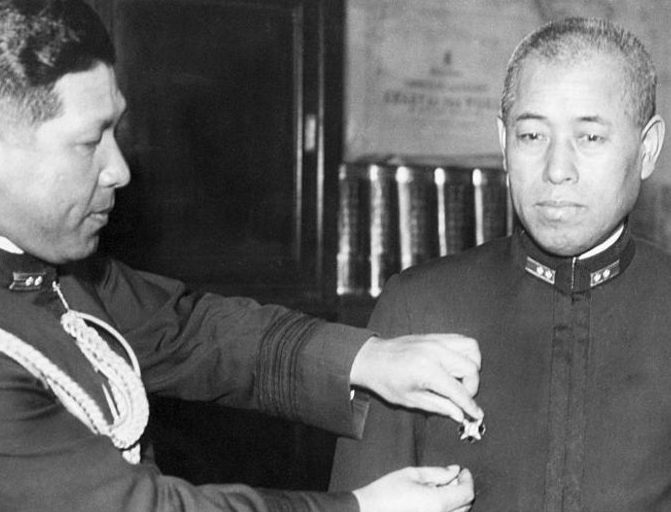
- 14. Japanese Navy
- 15. Follow up: Battle of Midway
Battle of the Coral Sea
The American Navy stops the Japanese from occupying Port Moresby, New Guinea
4-8 May 1942
In the Pacific theater of World War Two, the Battle of the Coral Sea took place between the forces of the Japanese Empire and the United States and Australia. The US learned of the Japanese plans to invade Port Moresby in New Guinea and Tulagi in the Solomon Islands. The Americans send a joint US-Australian naval force to intercept the Japanese and defend these places. Although the Japanese successfully invaded Tulani and sank several Allied ships, the battle turned out to be a strategic victory for the Allies, as the Japanese were unable to deploy vital naval assets in the subsequent Battle of Midway.


1 of 5
With the important exception of Burma, the next stage in the Allies’ war against Japan can be told largely in terms of aircraft carriers, which became the key weapon in deciding whether the Japanese could retain the sprawling empire they had won in the six months after Pearl Harbor.
2 of 5
The Japanese were determined to seize Port Moresby to protect their southern perimeter, to control the straits between New Guinea and Australia, to threaten Australia and, if the army ever changed its mind, to provide a base for invading that continent. The Americans, on the other hand, were equally determined to assist the Australians in holding Port Moresby as an essential outpost for the defense of Australia and an equally essential springboard for any counterattacks northwards.
3 of 5
In what became the normal confused minuet of Pacific war naval engagements between carriers, the Japanese and American carrier groups advanced and retreated, veered away or closed the distance in deference to weather, the available light, and very confused and incomplete information about each other. Both sides made wild claims about the damage they inflicted, but the results proved decisive for the Allies.
4 of 5
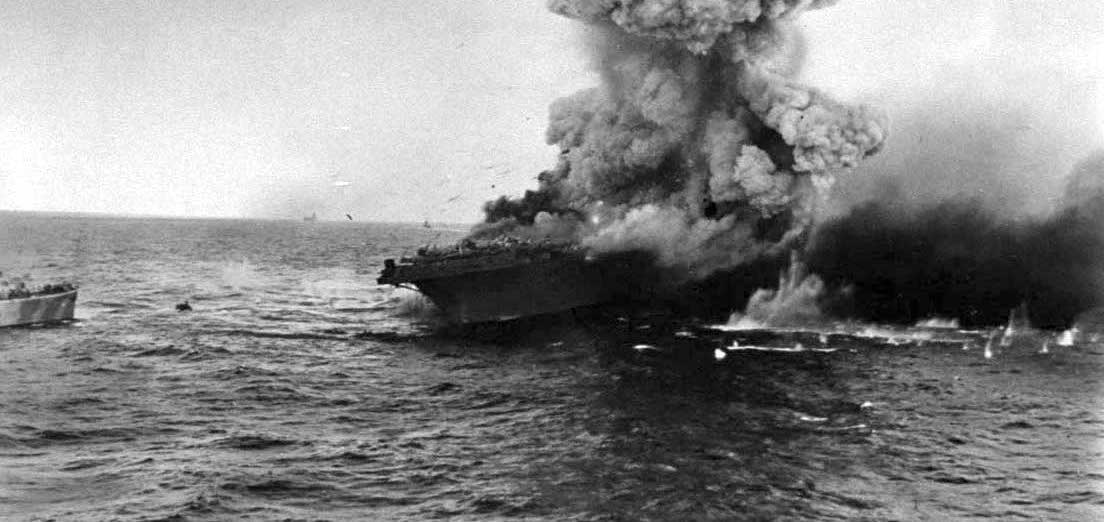
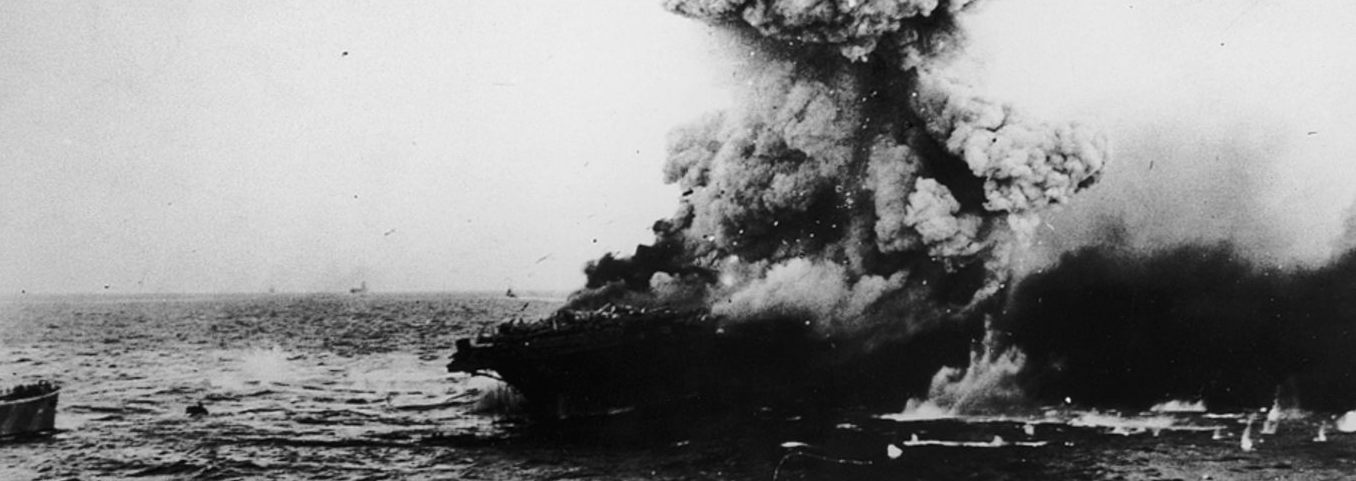
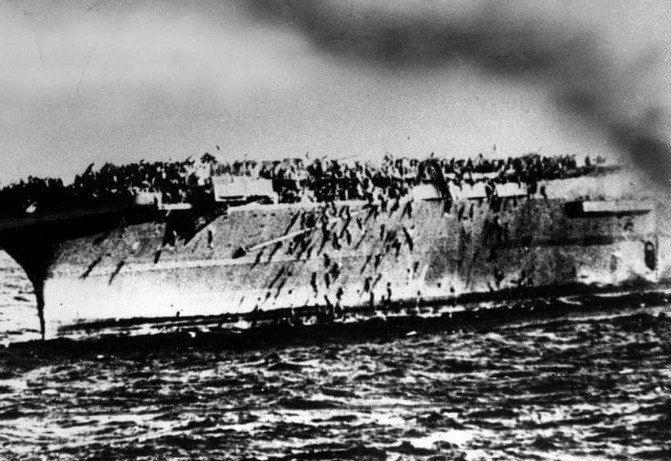
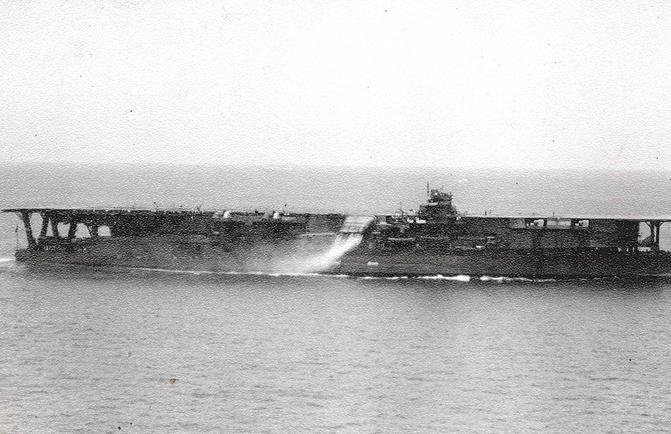
The indecisive Battle of the Coral Sea resulted in the sinking of the Japanese light carrier Shoho and the damaging of the American carrier Lexington, which exploded two hours after the last Japanese plane left. The evacuation of the Lexington was orderly, and over 90 percent of the crew survived. Two heavy Japanese carriers, the Shokaku and Zuikaku, were damaged, and so the plans to take Port Moresby in Papua New Guinea – from where Australia could be threatened – had to be abandoned.

5 of 5
The temporary character of the Japanese incursion could not long be concealed; for a while radio propaganda could pretend that the rising sun was about to shine on India and the whole Indian Ocean area, but it became obvious by the late summer that this was simply not likely.
In the full flight of euphoria following their triumphs, the Japanese determined to extend their South Pacific holdings to embrace Papua, the Solomons, Fiji, New Caledonia and Samoa. The navy persuaded the army to agree an advance to a new imperial outer perimeter with Midway Atoll in the center and the Aleutians in the north, which should be seized from the Americans. They would then have bases from which they could interdict supply routes to Australia, which was now the Allies’ main staging post for the Asian war. But before Midway could be taken, Port Moresby and Tulagi had to be invaded.
1 of 4
Japan’s objectives would prove disastrously over-ambitious; but the alternative, from Tokyo’s perspective, was to concede to the Americans the freedom to amass forces for a counterstroke. They knew that, unless the US could be kept under relentless pressure, Japanese defeat was inevitable. Their only credible strategy, they believed, was to strike at the Allies again and again, until Washington bowed to the logic of Japanese dominance and negotiated a settlement. Above all, the Imperial Navy sought to engage and destroy US warships at sea.
2 of 4
The pressure of time imposed by the need to strike before the Americans added new forces to those already deployed in the Pacific finally produced agreement on a firm schedule for a series of Japanese operations. These would be, first, an attack to seize Port Moresby and the seaplane base at Tulagi in the Solomons. Due to the recent appearance of American carriers in the South Pacific, this operation would have to be supported by a carrier division of two aircraft carriers.
3 of 4
The navy leadership was itself divided. On the one hand were the advocates in Admiral Yamamoto's Combined Fleet Headquarters of a strike in the Central Pacific, now looking toward the seizure of Midway Island as a prerequisite for the landing on Hawaii, but making that possible by forcing the American navy, and especially its carriers, into a decisive battle. The central naval staff under Admiral Nagumo Osami preferred to concentrate on securing the empire Japan was winning in the south and considered an expedition to the east much too risky. In the face of Yamamoto's threat to resign, the navy staff caved in.
4 of 4
The Japanese were planning to seize Port Moresby by seaborne landing, with a carrier group of two large and one light carrier providing air support. The idea that this small force could obtain control of the air over Port Moresby and shield the landings at Tulagi in the Solomons as well as near Port Moresby, was ridiculous: six carriers had hit Pearl Harbor, four had been used to cover the seizure of Rabaul, and five for the attack on Ceylon. But the insistence of Yamamoto on his strike at Midway prevented the allocation of adequate forces to the Port Moresby attack.
- Andrew Roberts, The Storm of War: A new history of the Second World War, Penguin Books, London, 2009
- Gerhard L. Weinberg, A World at Arms A Global History of World War Two, Cambridge University Press, Cambridge, 1994
- Williamson Murray, Allan R. Millett, A War To Be Won Fighting the Second World War, Belknap Press, Cambridge, Massachusetts, 2000
- Max Hastings, All Hell Let Loose: The World at War 1939-45, HarperCollins Publishers, London 2011