
- 1. Overview
- 2. The BEF’s structure
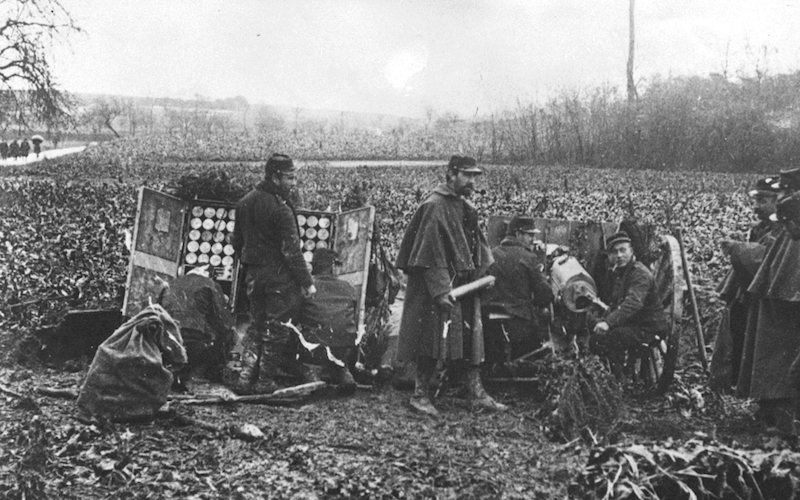
- 3. The BEF’s forces
- 4. Preparations for battle
- 5. The battle begins
- 6. The British defeat
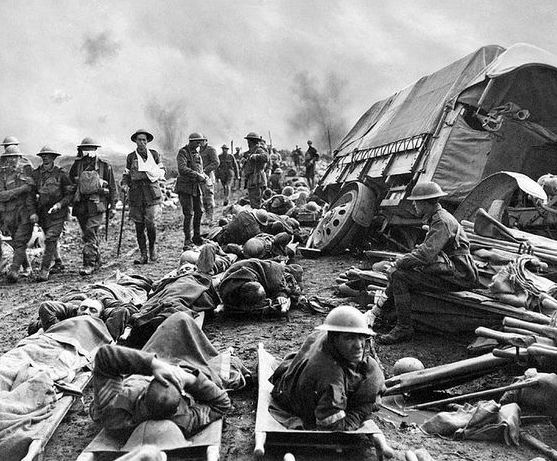
- 7. The Great Retreat: Battle of Le Cateau
- 8. The Great Retreat begins
- 9. Battle of St. Quentin
- 10. Action at Nery
- 11. The last plans
- 12. Defence of Paris
- 13. Epilogue: The battle of the Marne
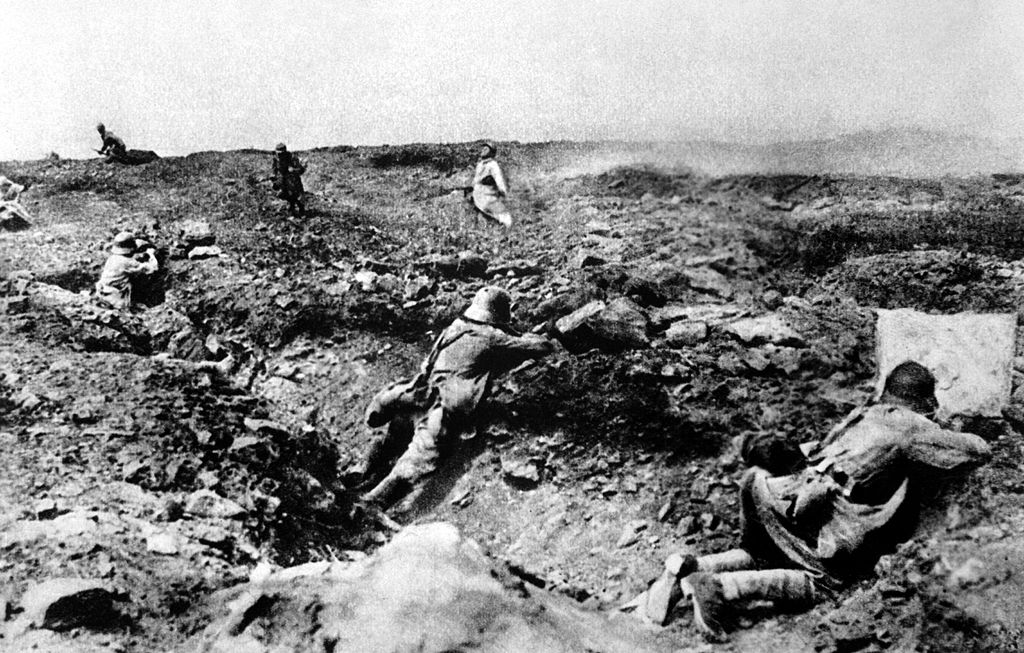
Battle of Mons
First major British engagement of the war
23 August 1914
The Battle of Mons was the first major action of the British Expeditionary Force during World War One. It was an auxiliary battle of the Battle of the Frontiers in which the British and French Entente forces clashed with the German forces. At Mons, the British attempted to hold the line against the advancing 1st German Army. Although the British inflicted substantial casualties on the Germans, they were forced to retreat due to German superiority and the retreat of the French 5th Army. The British retreat from Mons, also known as the Great Retreat, took the BEF to the outskirts of Paris.


1 of 5
Although many German accounts mention the admirable skill of the British musketry, it was probably the least important aspect of a battle resolved by tactical maneuvers and the efficient utilization of infantry, artillery and machine guns to attain specific tactical objectives. In particular, the British defence was static, with no use of reserves and a severe lack of coordination between neighboring units.
2 of 5
The BEF spent the night of 23/24 August in positions 5 kilometres south of Mons, preparing to renew the battle the following day. Not until 1 a.m. were their chiefs of staff told that their orders now were to retreat.
3 of 5
Ordered to hold the Mons-Conde Canal, the British were firmly entrenched along its length. At the heart of a mining area, the canal offered excellent defensive positions, with mine buildings and cottages providing strong points and the spoil heaps furnishing observation posts from which the supporting artillery could be directed onto the advancing enemy masses.
4 of 5
On the right of the British position, a bend in the canal created a salient which became exposed to German artillery as the German attack developed purpose and effort. The Germans broke into smaller groups and advanced by rushes. The salient was abandoned in mid-afternoon.
5 of 5
Both sides fought as well as marched, the French and British to delay the German advance or to escape from danger, the Germans
to force a way through any resistance they met.
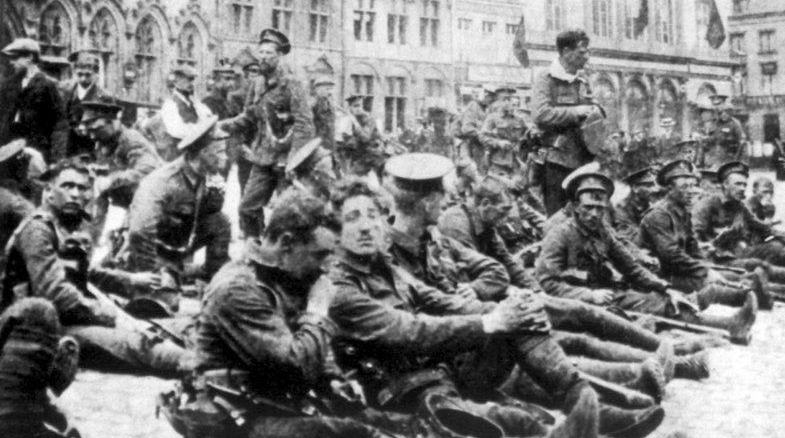
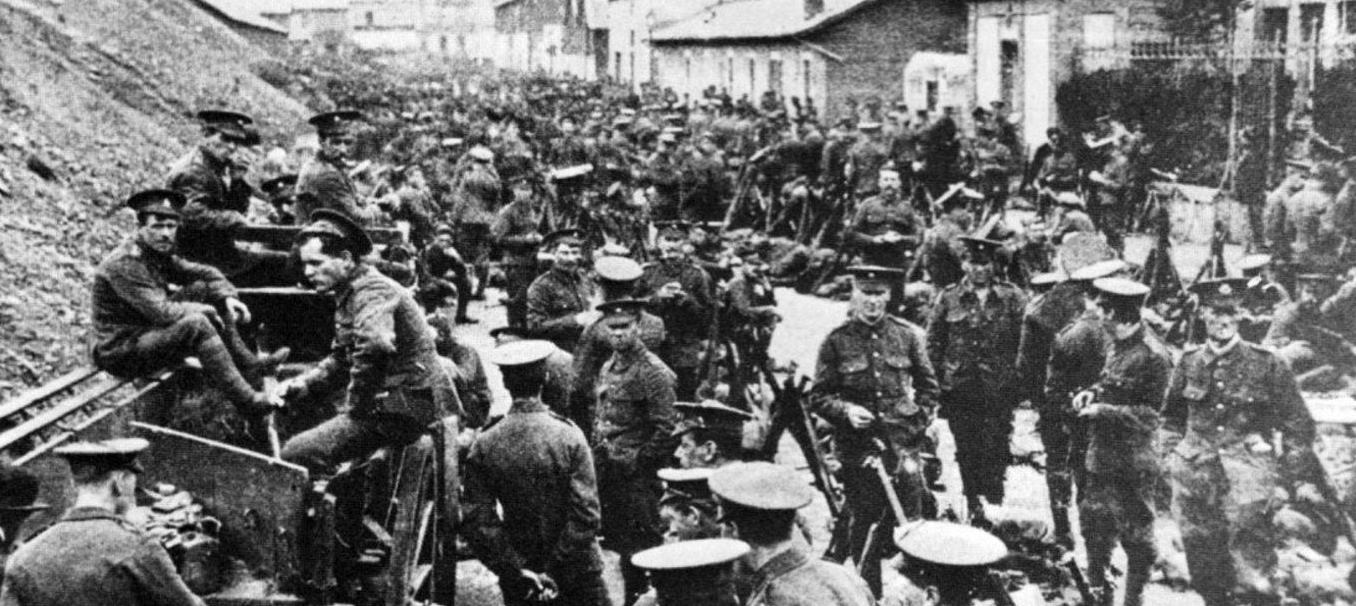
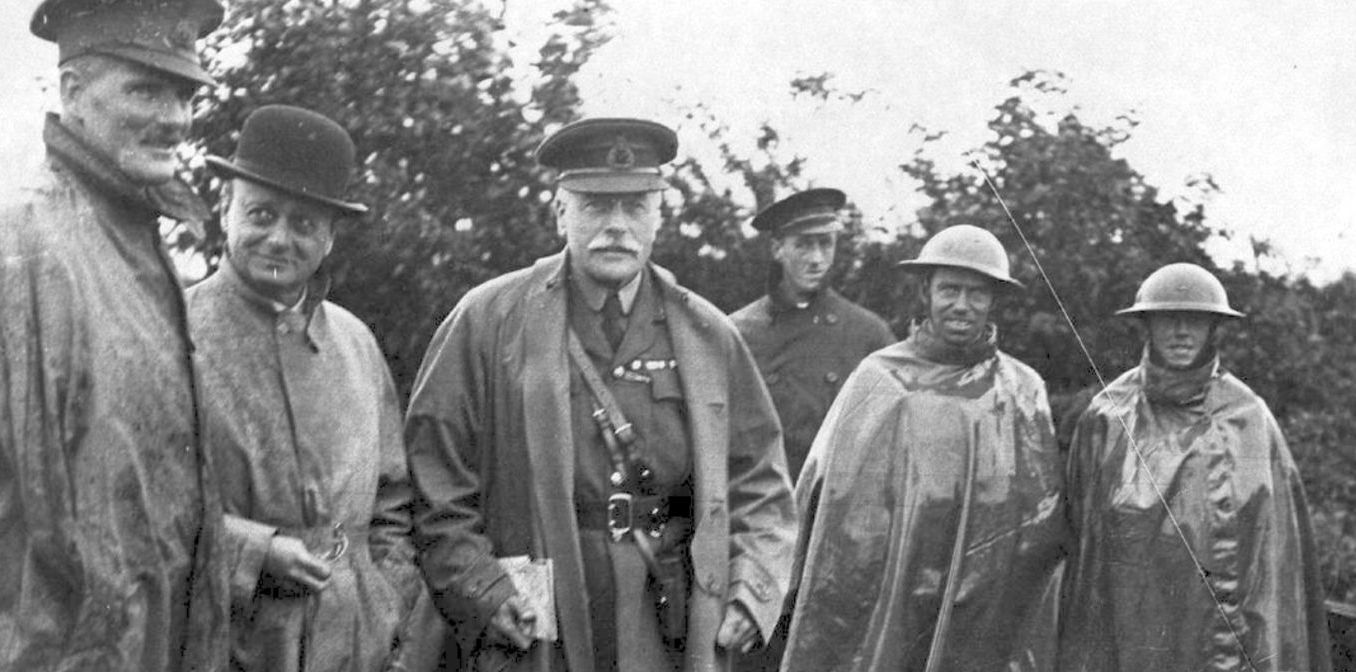
Amidst all the mayhem of the Battle of the Frontiers, the BEF had been making its way to the front. The BEF was ridiculously small for a country with the imperial pretensions of Great Britain. Just four divisions and the equivalent of a cavalry division were sent to France under the command of General Sir John French.
1 of 4
The BEF I Corps (1st and 2nd Divisions) was commanded by Lieutenant General Sir Douglas Haig. He too was a cavalry officer with a distinguished record of service in both the Sudan and Boer Wars. He had excelled in a series of pre-war staff appointments and indeed, while Director of Military Training at the War Office, had been partially responsible for the creation of Britain’s Territorial Army. Haig had already been marked down as a future Commander in Chief, but the war had come too early for him to ascend to that post.

2 of 4
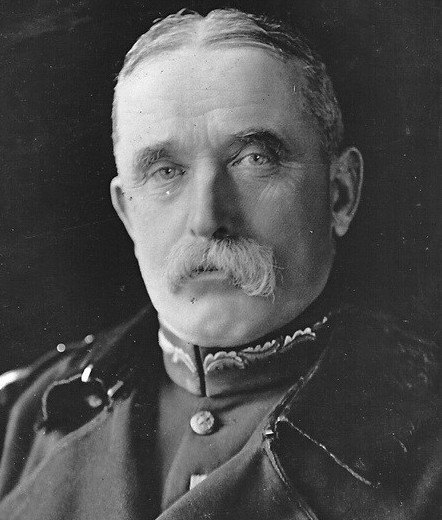
The II Corps was commanded by General Sir Horace Smith-Dorrien, who had taken over at short notice following the untimely death of its original commander, Lieutenant General Sir James Grierson. Smith-Dorrien was a career infantry officer who had managed to survive the massacre at the Battle of Isandlwana during the Zulu War. He then had considerable success during widespread active service during the Egypt, Tirah, Sudan and Boer War campaigns, followed by stints at the Aldershot and Southern Command.
3 of 4
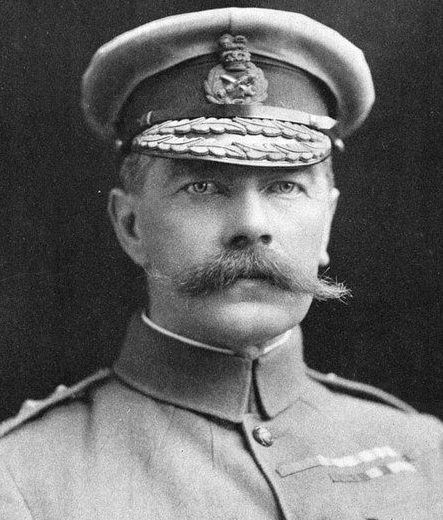
General French had enjoyed a glittering career culminating in considerable success as a cavalry leader in the Boer War. This had been followed by further rapid promotion and he was Chief of Imperial General Staff from 1912 to 1914. His task was complicated by the necessity of falling in with the plans of French General Joseph Joffre, clearly the man in charge of the overall campaign. Meanwhile Charles Lanrezac, as the commander of the neighbouring French Fifth Army, disposed a force that dwarfed the BEF.
4 of 4
Field-Marshal Lord Kitchener – who had been appointed Secretary of State for War – feared that the BEF’s forward concentration might lead to the BEF being overwhelmed by the German forces massing north of the Meuse. He could not change the assembly area, but the perceived threat of a German invasion caused him to delay the embarkation of two Regular divisions.
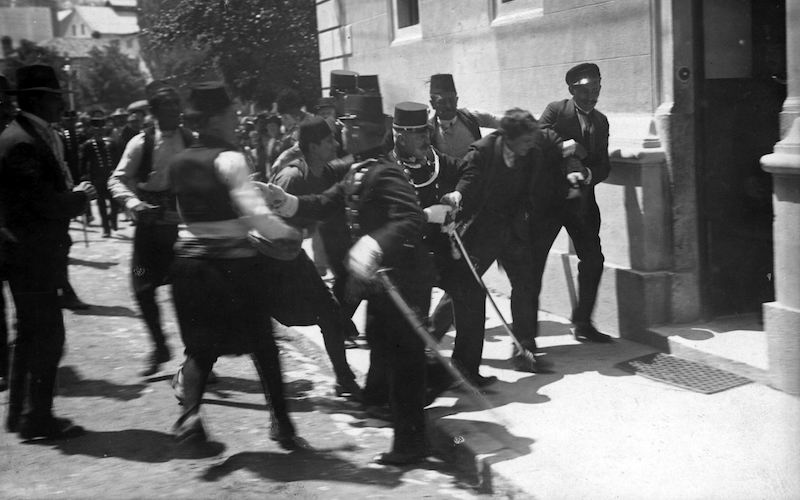
World War One - the Spark
World War I was sparked by the assassination of Franz Ferdinand, the Austrian heir to the throne, by a Bosnian Serb. This event triggered an international crisis that led to the outbreak of the Great War.
Battle of the Frontiers
During the first weeks of war Germany invaded Belgium in an attempt to flank the French Army. The French responded with a series of counter offensives in the Ardennes and Alsace-Lorraine, which ultimately proved disastrous for the French who suffered heavy casualties.
- Peter Hart, The Great War: A Combat History of the First World War, Oxford University Press, Oxford, 2013
- Hew Strachan, The First World War: To Arms (Volume I ), Oxford University Press, Oxford, 2001
- Peter Simkins, Geoffrey Jukes, Michael Hickey, Hew Strachan, The First World War: The War to End All Wars, Osprey Publishing. Oxford, 2003
- John Keegan, The First World War, Random House UK Limited, London, 1998